
Decorating a Christmas tree can be a fun and festive activity, but it can also be a bit overwhelming. With so many different ornaments, lights, and decorations available, it can be difficult to know where to start. If you want your tree to look like it was decorated by a professional designer, there are a few key steps you can follow.
First, start with a theme. Choose a color scheme or a specific style, such as rustic or modern, and stick to it throughout your decorating process. This will help create a cohesive and polished look. Next, invest in quality ornaments and decorations. Look for unique pieces that will add interest and texture to your tree. Finally, don’t forget to add plenty of lights to create a warm and inviting glow.
In this article, we will provide a step-by-step guide to decorating a tree like a designer. From choosing a theme to adding the finishing touches, we will cover everything you need to know to create a stunning and stylish Christmas tree. Whether you’re a seasoned decorator or a beginner, these tips and tricks will help you create a tree that will impress your friends and family.
Choosing the Right Tree

When it comes to how to decorate your Christmas tree like a designer, the first step is to choose the right tree. Here are some tips to help you pick the perfect tree:
1. Size Matters
Consider the size of the room where you will be placing the tree. You don’t want a tree that is too big or too small for the space. Measure the height of your ceiling and leave some room for the tree topper.
2. Type of Tree
There are many types of trees to choose from, including fir, spruce, and pine. Each type has its own unique characteristics, so choose one that fits your style and needs. For example, a fir tree has soft needles and a classic Christmas tree shape, while a spruce tree has sharp needles and a more natural look.
3. Freshness
Make sure the tree is fresh. Look for a tree that has green needles that are firmly attached to the branches. Check for any signs of dryness, such as brown needles or a lot of needles on the ground.
4. Artificial vs. Real
Decide whether you want an artificial or real tree. Artificial trees are reusable and can be less messy, but real trees have a natural look and smell.
By following these tips, you can choose the perfect tree for your designer Christmas tree.
Selecting a Theme

When it comes to decorating a Christmas tree like a designer, selecting a theme is the first and most important step. A theme will help you create a cohesive and visually appealing look for your tree.
To choose a theme, start by considering your personal style and the overall aesthetic of your home. Do you prefer traditional or modern decor? Are you drawn to a specific color palette or pattern?
Once you have a general idea of your style, gather inspiration from sources such as magazines, Pinterest, or even your favorite holiday movies. Look for common elements such as colors, textures, or motifs that catch your eye.
Some popular themes for Christmas trees include:
- Rustic: featuring natural elements such as wood, burlap, and pinecones
- Glamorous: incorporating metallics, glitter, and bold colors
- Vintage: using antique ornaments and classic holiday colors such as red and green
- Coastal: featuring seashells, starfish, and a blue and white color palette
Remember to keep your theme in mind as you select ornaments, garlands, and other decorations for your tree. By sticking to a cohesive theme, you can create a designer-worthy look that will impress your guests.
Gathering Supplies

Before starting to decorate the tree, it’s important to gather all the necessary supplies. This will ensure that the process goes smoothly and efficiently. Here are the essential supplies needed to decorate a tree like a designer:
Ornaments
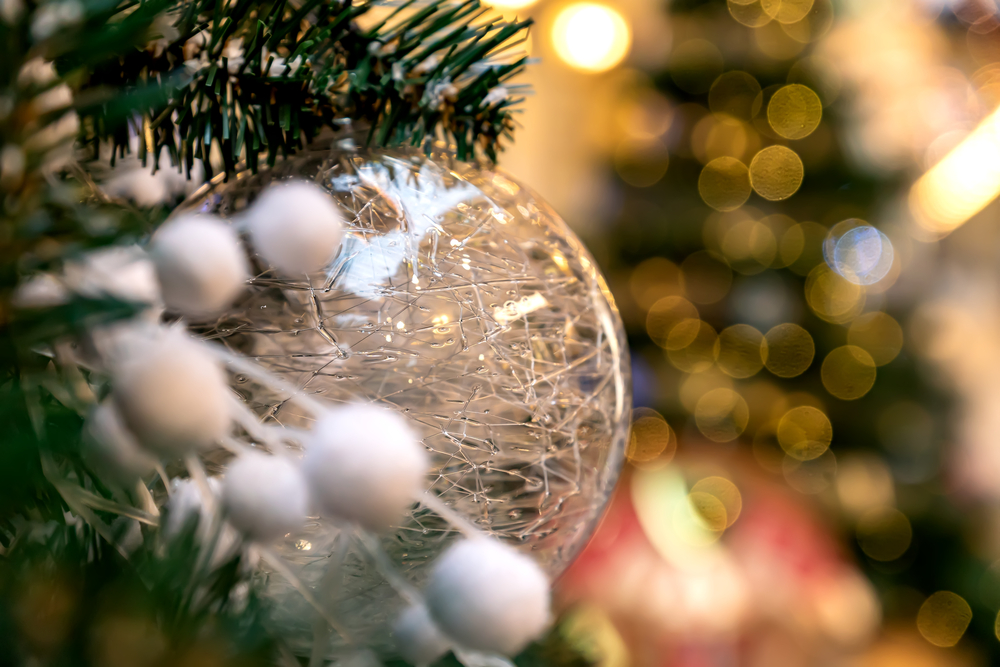
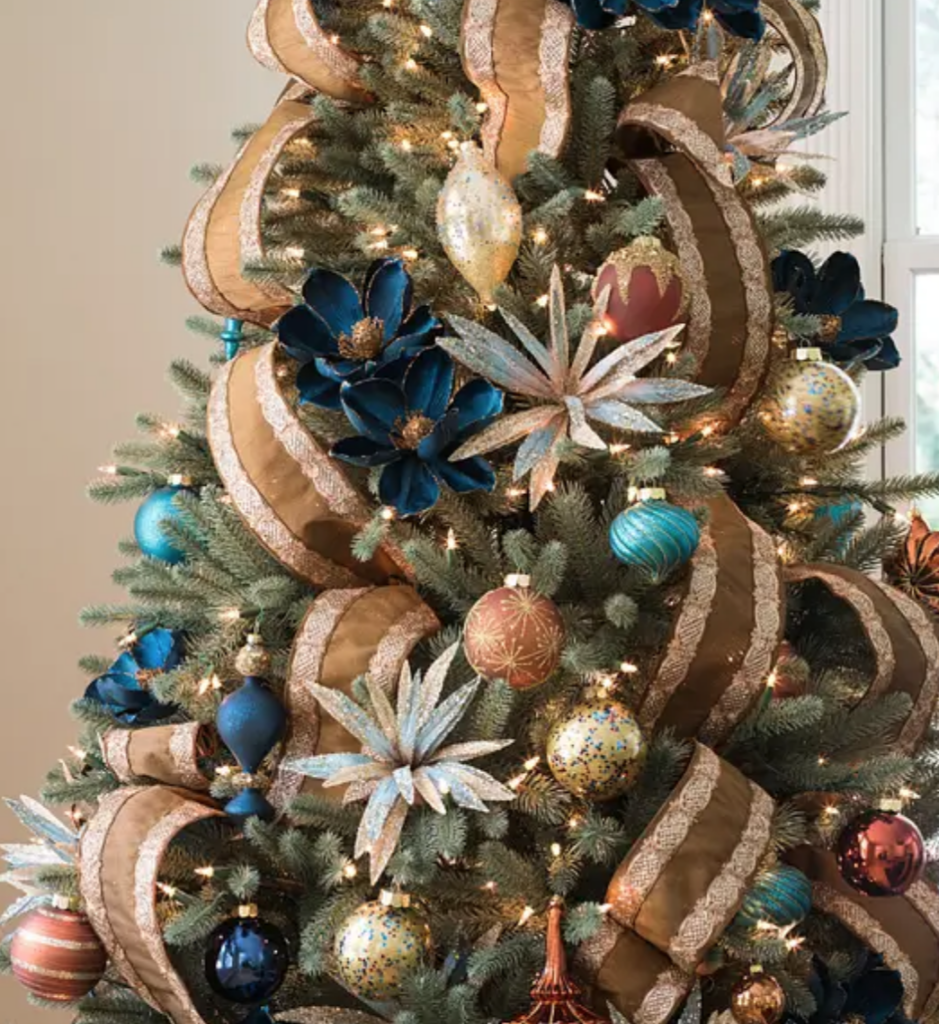
Ornaments are the most important part of tree decoration. It’s recommended to have a variety of ornaments in different sizes, colors, and textures to create a visually appealing tree. Some popular ornament types include glass, metallic, and wooden ornaments. It’s also a good idea to have a mix of traditional and unique ornaments to add character to the tree.
Lights
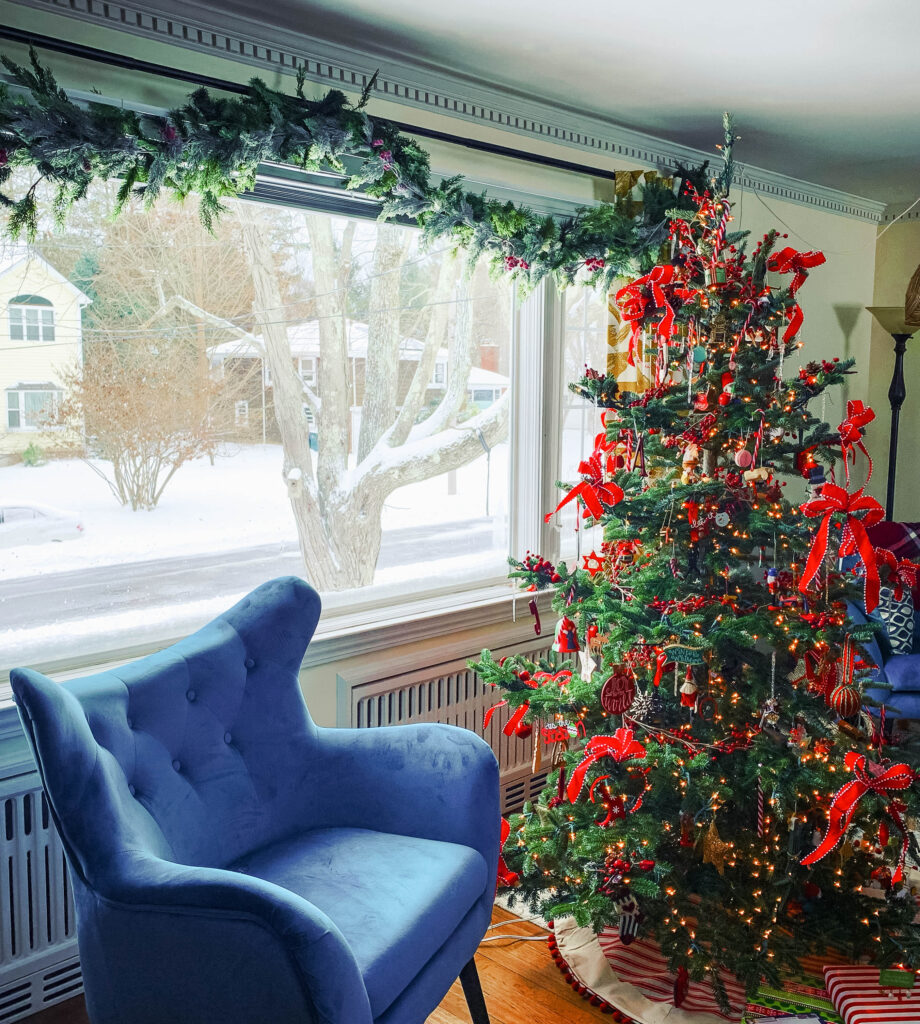
Lights add warmth and depth to the tree. It’s important to choose the right type of lights, such as warm white or multicolored lights, to match the theme of the tree. It’s also recommended to have at least 100 lights per foot of tree height. Test the lights before putting them on the tree to make sure they work properly.
Tree Topper
The tree topper is the centerpiece of the tree and should complement the theme of the tree. Some popular tree toppers include stars, angels, and bows. It’s important to choose a topper that is proportionate to the size of the tree.
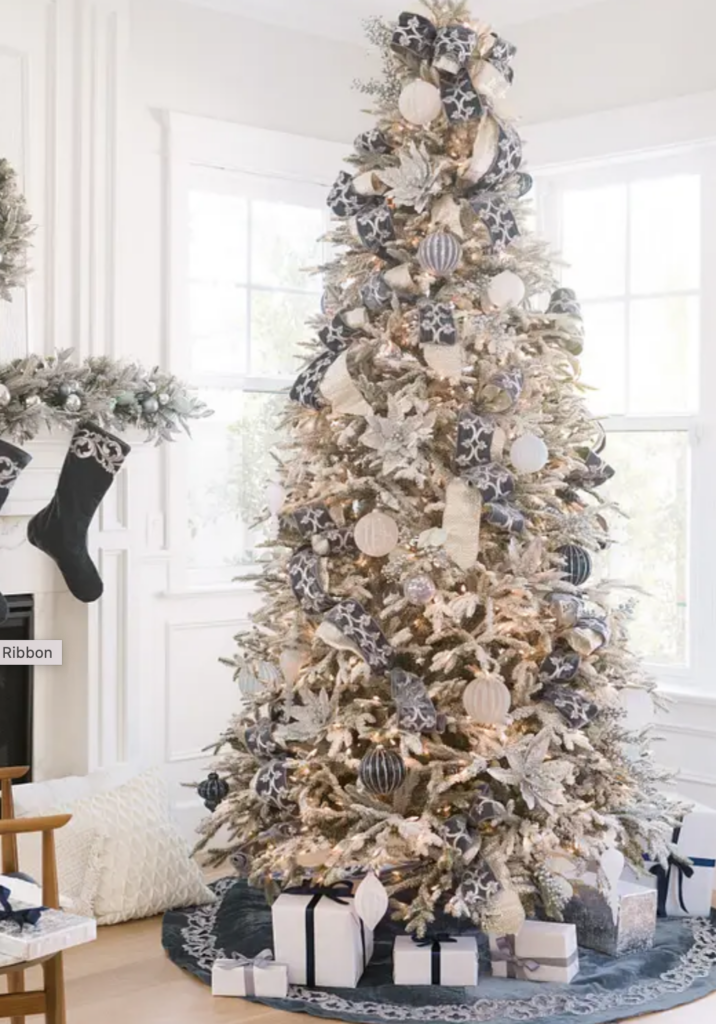
Ribbon
Ribbon adds texture and color to the tree. It’s recommended to use wired ribbon to create full, voluminous bows. Choose ribbon that complements the theme of the tree and use it to create cascading ribbons or bows throughout the tree.
By gathering all the necessary supplies beforehand, decorating the tree will be a breeze.
Preparation Steps

Before starting the decorating your Christmas tree like a pro process, there are a few preparation steps that need to be taken to ensure the tree looks like a designer did it. These steps include fluffing the tree and testing the lights. (This is only if you are using an artificial tree!)
Fluffing the Tree
The first step in preparing the tree is to fluff it. This involves separating the branches and needles to make the tree look fuller and more natural. To fluff the tree, follow these steps:
- Start at the bottom of the tree and work your way up.
- Gently pull each branch away from the center of the tree.
- Bend the branches upward to create a more natural look.
- Repeat this process for each branch until the entire tree is fluffed.
Testing Lights
Before adding any decorations, it’s important to test the lights to ensure they are working properly. To test the lights, follow these steps:
- Plug in the lights and check to see if all the bulbs are working.
- If any bulbs are not working, replace them before continuing.
- Make sure the lights are evenly distributed around the tree.
- Consider using multiple strands of lights to create a more dramatic effect.
By following these preparation steps, the tree will be ready to be decorated like a professional designer did it.
Ornament Placement
When it comes to decorating a Christmas tree like a designer, ornament placement is an essential aspect to consider. Proper ornament placement can make a significant difference in the overall look of the tree. Here are some tips on how to place ornaments like a pro.
Starting Point
Before starting with the ornament placement, it is essential to have a starting point. A good starting point is to begin with the largest ornaments and place them evenly around the tree. This will provide a foundation for the rest of the ornaments and ensure that the tree has a balanced look.
Layering Technique
The layering technique is a great way to add depth and dimension to the tree. Start by placing medium-sized ornaments in between the larger ones. This will create a layered effect and add visual interest to the tree. Once the medium-sized ornaments are in place, add smaller ornaments in the gaps. This will fill in any empty spaces and create a cohesive look.
Final Touches
The final touches are what will make the tree stand out. Add some special ornaments, such as family heirlooms or handmade decorations, to personalize the tree. Use ribbon or garland to add texture and depth to the tree. Finally, add some lights to the tree to make it shine.
In conclusion, proper ornament placement is essential to create a designer look for a Christmas tree. By following these tips, anyone can decorate a tree like a pro.
Light Installation when Decorating Your Christmas Tree

When it comes to decorating a Christmas tree, lighting is a crucial step to make it look like a designer did it. Here are some tips to achieve a professional-looking light installation.
Lighting Technique
To start, choose the right type of lights for your tree. LED lights are a popular choice because they are energy-efficient and long-lasting. However, if you prefer the warm glow of traditional incandescent lights, go for it!
Before starting, plug in the lights to ensure they are working correctly. Then, start at the top of the tree and work your way down, weaving the lights in and out of the branches. For a fuller look, wrap the lights around the trunk as well.
To add depth and dimension to the tree, use a combination of light sizes. For example, use larger bulbs on the bottom of the tree and smaller bulbs towards the top. You can also use different colors or twinkling lights for added interest.
Safety Precautions
It’s essential to take safety precautions when installing Christmas lights. Here are some tips to ensure a safe and enjoyable decorating experience:
- Always unplug the lights before handling or adjusting them.
- Use a sturdy ladder or step stool to reach high branches.
- Do not overload electrical outlets or extension cords.
- Keep the tree away from heat sources, such as candles or fireplaces.
- Check the lights for frayed wires or damaged bulbs before using them.
By following these tips, you can create a beautifully lit Christmas tree that will impress your guests.
Ribbon Application for Decorating Your Christmas Tree
Ribbon adds depth and texture to a Christmas tree, and there are several ways to apply it. Here are some tips to help you achieve a designer look.
Ribbon Selection
When selecting ribbon, consider the color and texture of your tree and ornaments. Choose a ribbon that complements the color scheme and adds contrast. For example, if your tree is decorated with gold and silver ornaments, a red ribbon would add a pop of color.
Satin and velvet ribbons are popular choices for Christmas trees. Satin ribbon has a shiny finish that reflects light and adds sparkle to the tree. Velvet ribbon has a soft texture that adds depth and richness.
Ribbon Technique
There are several techniques for applying ribbon to a Christmas tree. One popular technique is the “waterfall” method. To achieve this look, start at the top of the tree and drape the ribbon down in a cascading pattern. Secure the ribbon to the tree with floral wire or ornament hooks.
Another technique is the “crisscross” method. Start at the top of the tree and wrap the ribbon around the tree in a crisscross pattern, securing it with floral wire or ornament hooks.
For a more intricate look, try the “weave” method. Start at the top of the tree and weave the ribbon in and out of the branches, securing it with floral wire or ornament hooks.
No matter which technique you choose, be sure to fluff the ribbon as you go to create a full and flowing look. And remember, less is often more when it comes to ribbon. Don’t overdo it, or your tree may look cluttered. This will help you when you are decorating your Christmas tree.
Tree Topper Installation
The tree topper is the crowning glory of any Christmas tree and can make a huge impact on the overall look and feel of the tree. Here are some steps to follow for a perfect tree topper installation:
- Choose the Right Tree Topper: Before starting the installation, choose a tree topper that complements the overall look of your tree. Popular options include stars, angels, bows, and ribbons. Make sure the size and weight of the topper are appropriate for your tree.
- Fluff the Top Branches: Before installing the topper, make sure to fluff the top branches of the tree. This will create a sturdy base for the topper and ensure that it stays in place.
- Install the Tree Topper: Gently place the tree topper on the top branch of the tree. Make sure it is centered and secure. If necessary, use floral wire or zip ties to attach the topper to the tree.
- Add Finishing Touches: Once the topper is securely in place, add any finishing touches such as ribbons or lights to complete the look.
By following these simple steps, anyone can install a tree topper like a professional designer and create a stunning Christmas tree that will be the envy of all who see it.
Final Touches
After adding all the ornaments and garlands, it’s time to add the final touches to make the tree look like a designer did it.
Add a Tree Skirt or Collar
A beautiful tree skirt or tree collar will help solidify the theme you want for your Christmas tree. Pick something that will last for years, or get something inexpensive so you can change things up often.
Checking Balance
Before adding any more decorations, it’s important to check the balance of the tree. Stand back and look at the tree from different angles to see if there are any bare spots or areas that are too crowded. Adjust the ornaments and garlands as necessary to achieve a balanced look.
Adding Extra Sparkle
To add extra sparkle and shine to the tree, consider adding some specialty ornaments such as glass icicles or crystal snowflakes. These ornaments reflect the light and add depth to the tree. Another way to add sparkle is to wrap some twinkle lights around the tree. Choose lights with a warm white or cool white tone to match the color scheme of the tree.
To make the tree look even more polished, consider adding a tree topper. A star or angel tree topper adds a finishing touch to the tree. Choose a topper that matches the style and color scheme of the tree.
In conclusion, adding the final touches to the tree can make a big difference in achieving a designer look. By checking the balance and adding extra sparkle, the tree will look polished and complete.
Maintaining Your Tree
Once you’ve decorated your tree to look like a designer did it, you’ll want to make sure it stays looking fabulous throughout the holiday season. Here are some tips for maintaining your tree:
Cleaning Tips
To keep your tree looking fresh and clean, you’ll want to dust it regularly. You can use a soft-bristled brush or a lint roller to remove any dust or debris that may have accumulated on the branches. If you have an artificial tree, you can also use a damp cloth or sponge to wipe down the branches.
Another way to keep your tree looking clean is to vacuum around it regularly. This will help to remove any fallen needles or other debris that may have accumulated on the floor.
Post-Holiday Storage
When the holiday season is over, it’s important to store your tree properly to ensure that it stays in good condition for next year. Here are some tips for post-holiday storage:
- Remove all ornaments and decorations from the tree.
- If you have an artificial tree, disassemble it according to the manufacturer’s instructions and store it in its original box or a tree storage bag.
- If you have a live tree, dispose of it properly or recycle it if possible.
- Store any other decorations or holiday items in a cool, dry place.
By following these tips, you can keep your tree looking beautiful and festive throughout the holiday season and beyond.